If you have been searching online for “solar lights for sale”, look no further. Buy high quality garden solar lights online from the comfort of your own living room at a lower price than your local store! .
Despite the great prices, these aren’t the normal budget garden solar lights you’ll find in most retail stores, the ones that provide very little light and. .
Solar fence lights are simply solar-powered outdoor lights that attach to garden fencing. They are quick and easy to install, with just a few. .
Here are the outdoor solar lights and solar power kits for sale at Shedstore, click on the individual products for full details: .
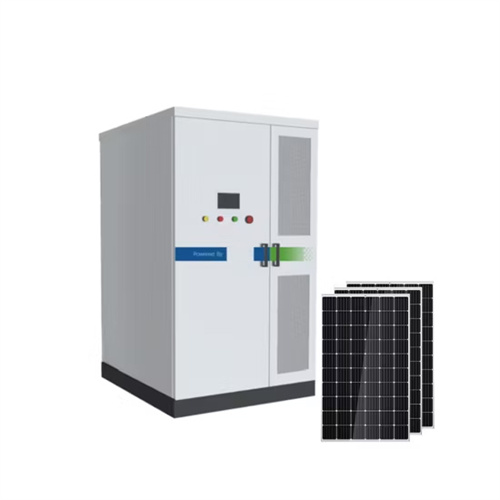
Through a Photovoltaic cell, solar panels generate electricity from direct sunlight. This means that one or more rechargeable batteries are charged in the daytime. In the case of garden solar.
[pdf] 
Upon arrival, I took the panel out of the box and gave it a quick rundown. It arrived well-packaged and in good condition. The box was sturdy and the panel was well protected. The first things that stood out to me were its size and weight. It was noticeably smaller and lighter than other 100 watt panels I’ve used. I. .
I angled the panel toward the sun, propped it at the optimal tilt angle and took some measurements with my multimeter. First I recorded the open circuit voltage (Voc). I got a Voc of. .
Of the five 100 watt panels I own, the Renogy Mono is the easiest to mount out of the box. It has the most pre-drilled mounting holes of any panel I tested, which gives you a bit more flexibility in how you mount it. Plus, its. .
The panel seemed well-built and held up just fine during my testing. Its MC4 connectors were my favorite of all panels tested. I gave them a little tug test to test the crimps, and found no. .
To test power output, I connected each solar panel to a battery via an MPPT charge controller. Then I used a watt meter to measure each panel’s output in watts. Here are the results: The Renogy Mono output a max of.
[pdf] To distribute power in my homemade solar generator, I used a 6-circuit fuse panel for the positives, and for the grounds, I used a busbar. Fix both of these to the case floor using a hot glue gun. Once the glue dries, I recommend you add another layer of superglue all around the edges. Do the same for the positive inline fuse. .
To wire the LED light, you need to shorten the cable just enough to reach the switch. Strip the outer insulation on the end, as well as the insulation of the (+) and (-) wires that are inside. Since the switch also has an indicator light, it. .
Take the leads from the 18V socket and connect the charge controller. Now go ahead and connect the charge controller to the fuse box and negative bus bar. Since I used a solar battery maintainer that has its own solar.
[pdf]